designed for the way women work.

Tips On Growing Amaryllis Bulbs Indoors
Category: Presenting "The Curious Gardener"
Amaryllis bulbs that are bought from bulb growers come with instructions, but here are a few tips and ‘reasons why’ that might help make you more successful. I also include a link for those who want to get their amaryllis bulbs from last year to rebloom.
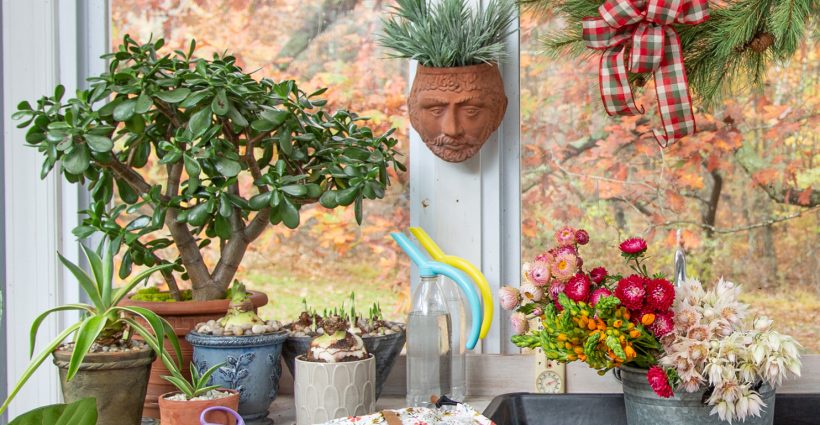
- Plant your bulb in a pot with a drainage hole at the bottom and soil. You can decorate the surface of your pot around the bulb with moss or stones. I’ve even seen grass growing around the bulb, and it’s a very nice effect. Avoid covering the neck of the bulb with heavy decorative material.
- Amaryllis bulbs like to be potbound, so while you want to choose a deep container you want a container that is no more than about 2 inches wider in diameter than the bulb itself. Since they like to be crowded you can also plant more than one bulb in a container.
- Leave at least a third of the bulb above the soil line. This is mainly so that the roots have room to grow in the pot. Amaryllis bulbs growing outdoors in warm climates are buried like other bulbs, but in a container there is the risk that you may not be leaving enough room below the bulb for the roots to extend themselves comfortably.
- Water well after planting your bulb, but then water only when the soil feels dry to the touch. If you need to push aside a few stones or moss to check the soil, do so.
- Put your bulb in a bright area or full sun and it will bloom in 6-8 weeks. If it starts growing at an angle, reaching towards the sun and possibly becoming top heavy, rotate the pot to encourage it to grow straight up. Amaryllis bulbs rarely need staking if grown this way.
- Every week pot up a new amaryllis bulb for succession blooming. You will have blooms all winter long. At this writing, Dutch Grown has inventory available and there’s a sale going on, whereas K Van Bourgondien is almost sold out. I just ordered some from Dutch Grown.
- If you have last year’s bulbs and want to get them to rebloom, click here and follow our instructions. It doesn’t always work, even if you follow the instructions, but it’s fun to try.
Enjoy!


Please do not continue to pass along the myth that gravel in the bottom of the pot increases drainage. It has been scientifically proven that this doesn’t work – in fact it decreases the amount of root space, and the water stops at the rocks creating root rot. Check out https://joegardener.com/video/how-to-get-the-best-drainage-for-your-container-and-why-what-youve-been-taught-is-all-wrong/
and https://todayshomeowner.com/garden-myth-putting-gravel-in-pots-and-containers/
A simple piece of pot shard across the hole will prevent the soil from flowing out when the pot is watered. Thank you.
Lynda Pollock Gwinnett County Extension Master Gardener and President of the Gwinnett County Master Gardener Association